Software ages

Renovate is a standalone node application. It scans your repositories for dependencies and creates Pull Requests (aka. Merge Requests) for the dependency updates. It supports a wide range of “package managers”, including Maven, Gradle, and npm, but also Dockerfile and bitbucket-pipelines.yml. Each update is proposed in a separate Pull Request containing information like Changelogs of the dependency and Renovate’s instructions on how to work with the PR. Your build pipeline with your automated tests will automatically verify if your application still works with the updated dependency. If you have enough confidence in your build pipeline, you can configure Renovate to auto-merge the PRs. Otherwise, you can merge the PRs yourself.
Renovate has tons of configuration options allowing to define version ranges for certain dependencies, grouping of dependencies, or telling Renovate to ignore the dependency altogether. It supports private package registries, schedules, and limits for the number of PR it creates. These configurations can be shared via repositories and nested and combined as you like. Additionally, it provides a Dependency Dashboard that shows an overview of the state of your repositories’ dependencies.
Getting started
The easiest way to get started is to use the Renovate Docker Container. But installing it as node package gives you more control over the Renovate version used. So let’s start in an empty folder and install Renovate (Fig. 1). I assume you have a current version of node and npm installed.
mkdir renovate-runner
cd renovate-runner
npm i -S renovate
This will generate a package.json and a package-lock.json file. Now you can proceed to create the config.js configuration file (Fig. 2).
module.exports = {
  // see https://docs.renovatebot.com/self-hosted-configuration/#platform
  platform: `${process.env.RENOVATE_PLATFORM}`,
  repositories: [
    "davidfuhr/davidfuhr-jekyll", // <-- Add your repositories here
  ],
  timezone: "Europe/Berlin",
  onboardingConfig: {
    $schema: "https://docs.renovatebot.com/renovate-schema.json",
    extends: ["config:base"],
  },
};
For the following steps I will assume your repositories are hosted on Bitbucket Cloud. For other platforms, see the Renovate Platforms Documentation.
Next, you need to create an app password for your Bitbucket account. It is ok to use your personal account for testing purposes, but I recommend creating a dedicated user for the bot later when you automate things. Now all left to do is to export your credentials as environment variables and are ready to run Renovate for the first time (Fig. 3).
export RENOVATE_PLATFORM=bitbucket
export RENOVATE_USERNAME=<your_username>
export RENOVATE_PASSWORD=<your_app_password>

npx renovate
If everything works, then Renovate should have created a Pull Request titled “Configure Renovate” in the configured repositories. The PR’s description contains the packages Renovate discovered, which Update-PRs it will create, and on what configuration it is running. After you merged this PR and run renovate again, it will create the first Update-PRs.
Set up on Bitbucket Pipelines
The next step is to automate Renovate and run it on a reliable environment, and not your local machine. An easy way to automate Renovate is to run it in Bitbucket Pipeline. A good starting configuration can you see in figure 4.
---
image: node:18

pipelines:
  default:
    - step:
      name: "Lint"
      caches:
        - node
      script:
        - npm ci
        - npx renovate-config-validator
custom:
  renovate:
    - step:
      name: Renovate
      caches:
        - node
      script:
        # See https://stackoverflow.com/a/74528937/501248
        - 'echo "deb http://deb.debian.org/debian bullseye-backports main" >/etc/apt/sources.list.d/bullseye-backports.list'
        - apt-get update && apt -t bullseye-backports install -y git
        - npm ci
        - npx renovate
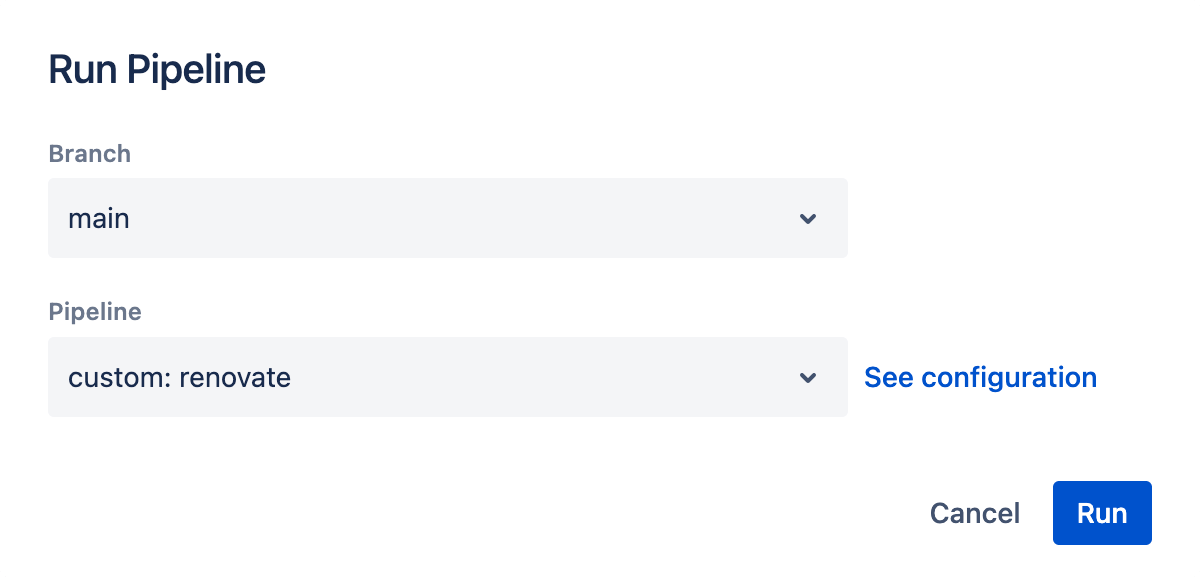
Next, you should add the three environment variables we used before (RENOVATE_PLATFORM, RENOVATE_USERNAME, RENOVATE_PASSWORD) to the Repository Variables in your Repository settings. After that, you can try to run the pipeline manually (Fig. 5).
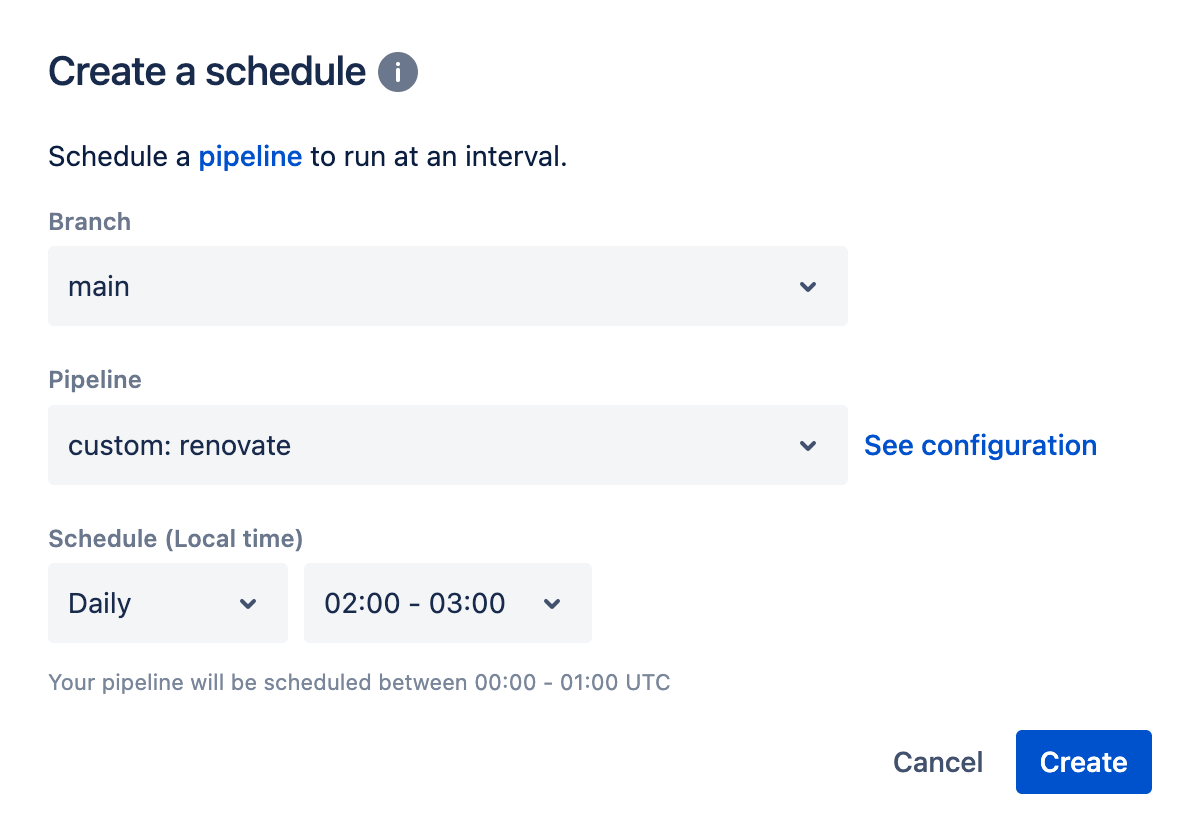
If everything works as expected, you can proceed to create a schedule (Fig. 6).
Congratulations! You’re done! Now Renovate will run periodically and help you keep your dependencies up-to-date!
Further Improvements
GitHub Token for Release Notes
To further improve the description of the PRs, you can enable Renovate to pull in public Release Notes from GitHub. To that, you need to create a public API Token and add it as GITHUB_COM_TOKEN to your Repository variables.
Autodiscover
Renovate has a powerful feature called “autodiscover”. When you enable autodiscover, by default, Renovate runs on every repository that the bot account can access. You can limit which repositories Renovate can access by using the autodiscoverFilter config option. This releases you from remembering to add every new repository you create to the Renovate configuration.
Other tips and resources
Alternatives
If your code is hosted on GitHub, it is probably easier to just use Dependabot. You can enable Dependabot in your repository settings. According to the Dependabot Documentation, it should be possible to run Dependabot for some other Git providers as well, but I didn’t test it:
However, if you want to run a custom version of Dependabot or run it on another platform, you're not left out in the cold. This repo provides the logic necessary for hosting your own standalone Dependabot, as long as you're not re-selling Dependabot to others. It currently supports opening Pull Requests against repositories hosted on GitHub, Github Enterprise, Azure DevOps, GitLab, BitBucket, and AWS CodeCommit.
– github.com/dependabot/dependabot-core
Other alternatives which I didn’t test are Depfu, or snyk. Are there any other alternatives I missed? What do you do to keep your dependencies up-to-date? Let me know!